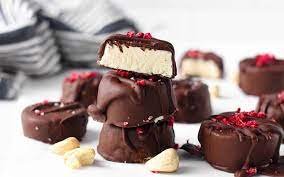
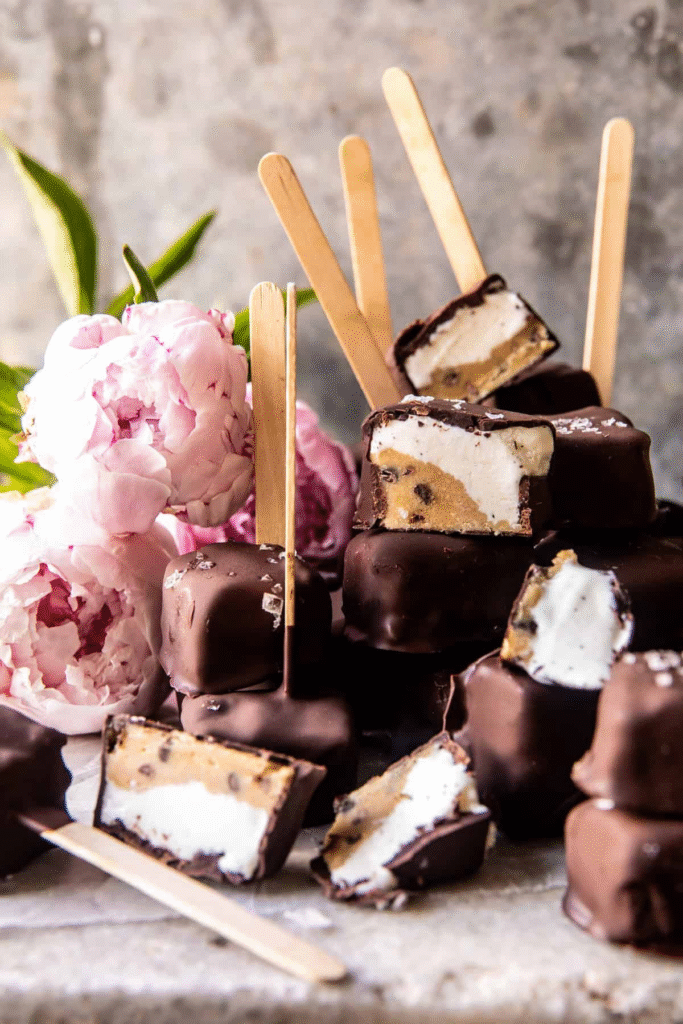
Cookie Dough Ice Cream Bites.
Okay, let’s talk about these Cookie Dough Ice Cream Bites—because honestly? They’re everything Seriously, the name says it all. Imagine this: homemade chocolate chip cookie dough, layered with the creamiest French vanilla ice cream, all wrapped up in a crisp chocolate shell. These little bites are about to become your new obsession. They’re the kind of treat you’ll stash in your freezer for emergencies (by “emergencies,” I mean anytime you need something sweet).
A few days ago, I glanced at the calendar and nearly dropped my coffee. How are we here already? This month dragged and flew by all at once—you know that weird time warp where the days feel long, but suddenly, poof, it’s summer?
And I am so ready for it. Give me those golden, sun-drenched evenings, the kind where the air is thick with humidity and fireflies start flickering. Give me backyard barbecues and the sound of kids laughing late into the night. Give me all the summer vibes—because after this never-ending spring, I’ve earned it.
And what’s summer without ice cream? There’s just something about it—the way it melts on your tongue, the nostalgia of chasing the ice cream truck as a kid, the fact that it somehow makes even the hottest days better.
When I realized Memorial Day was this close, my brain went straight to ice cream recipes. Specifically, the Cookie Dough Blizzard from Dairy Queen—my childhood go-to. (Raise your hand if you used to beg for extra cookie dough chunks.) And then there’s my sister-in-law, Lyndsie, who’s basically my personal cookie dough hype woman. If there’s a dessert with cookie dough in it, she’s first in line.
So, for Lynds (and let’s be real, for me), I wanted to create something simple but so good. Enter: these little frozen squares. Think chewy cookie dough, cool vanilla ice cream, and that snap of chocolate coating. It’s like the best parts of a blizzard, but in bite-sized form—no blender required.
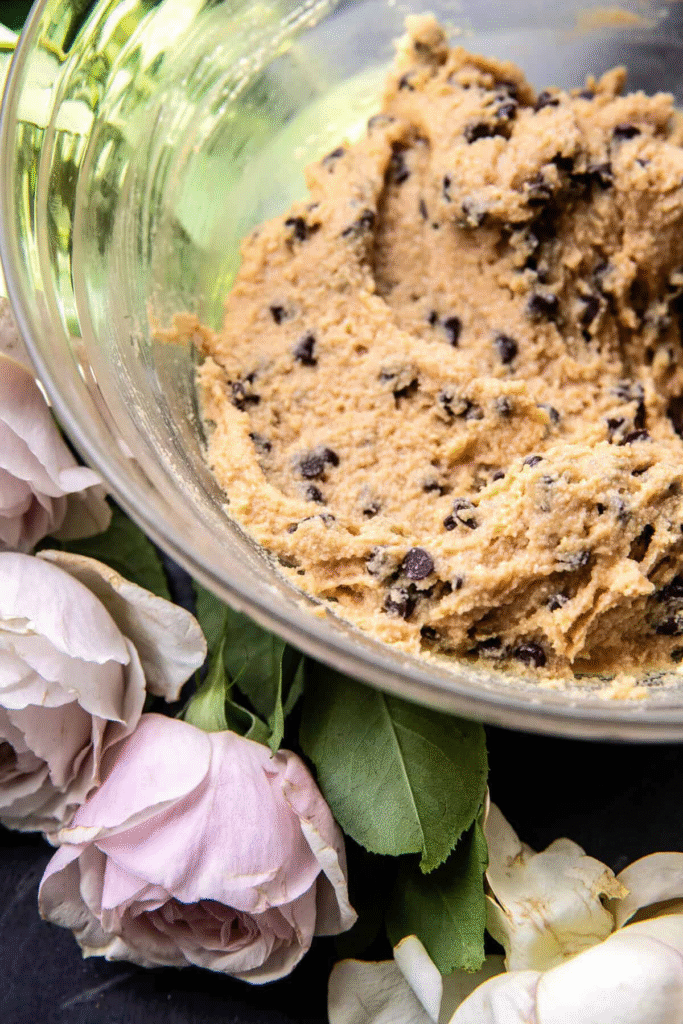
Step 1: The Cookie Dough (a.k.a. the Star of the Show)
This isn’t just any cookie dough—it’s egg-free, lightly sweetened, and so addictive you’ll want to eat it by the spoonful. (No judgment if you do.) Here’s what you’ll need:
- Almond flour (or oat flour if that’s what you’ve got—both work!)
- Cashew butter (the secret weapon! It gives that perfect doughy taste)
- Honey (for a touch of natural sweetness)
- Butter (because, duh)
- Vanilla (the more, the better)
- Mini chocolate chips (for those melty little pockets)
Just dump everything into a bowl and mix. No fancy techniques, no stand mixer required—just stir until it looks like the cookie dough of your dreams.
Pro tip: The cashew butter makes this dough taste uncannily like the real deal. I swear, if you close your eyes, you’d think you were eating straight-up cookie dough.
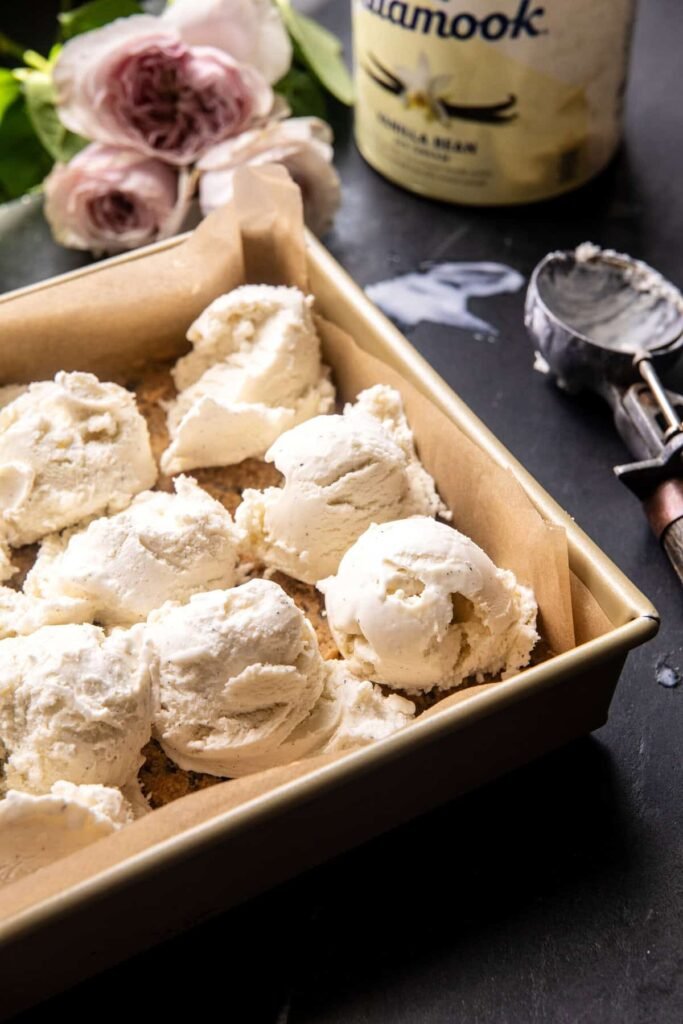
Step 2: Layering Magic
Grab a square baking pan and line it with parchment paper (trust me, this makes your life so much easier later). Press the cookie dough into the bottom in an even layer—think of it like the foundation of your ice cream masterpiece.
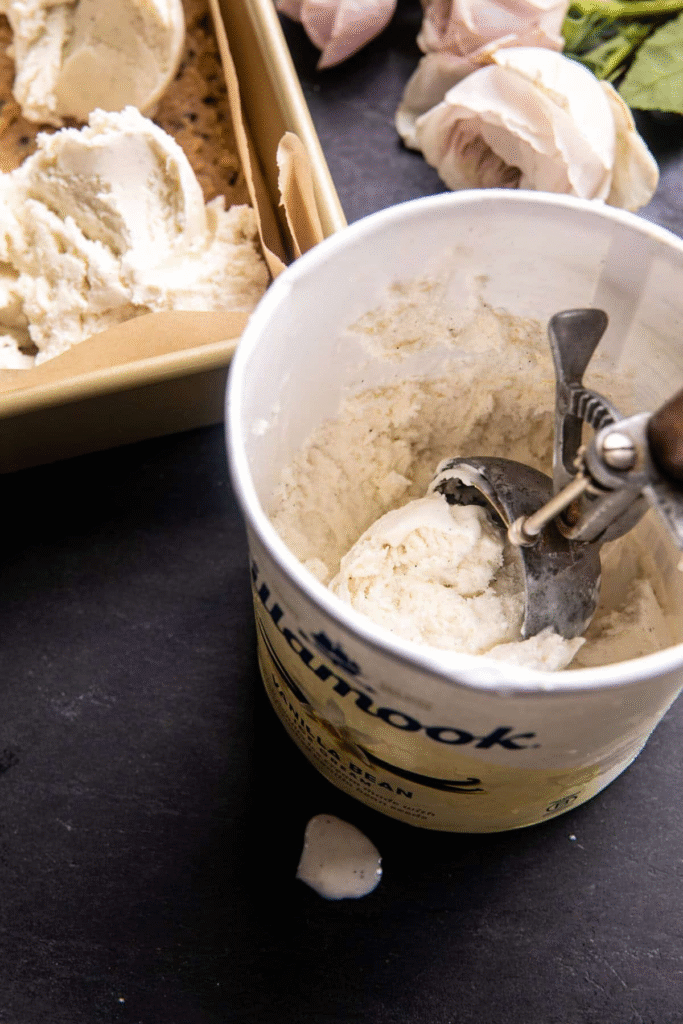
Pop it in the freezer for about 15 minutes—just long enough to firm up. Then, spread a thick layer of vanilla ice cream over the top. (I’m partial to Tillamook—it’s extra creamy—but use your favorite brand.)
Now, the hardest part: patience. Freeze the whole thing for at least 4 hours, but overnight is ideal. You want it rock-solid so the bars hold their shape when you cut them.

Step 3: Slice, Freeze, Repeat
Once fully frozen, lift the slab out of the pan (thank you, parchment paper!) and slice it into tiny squares—anywhere from 32 to 48, depending on how big you want them. (I like them small—they’re the perfect two-bite treat.)
Work quickly here, then lay the squares on a baking sheet and freeze again until they’re firm. An hour will do, but if you’ve got the time, let them go overnight. The colder they are, the smoother the chocolate-dipping step will be.
Optional but fun: Stick a popsicle stick into each square before the final freeze. It makes dipping way easier, but it’s not a dealbreaker if you skip it.
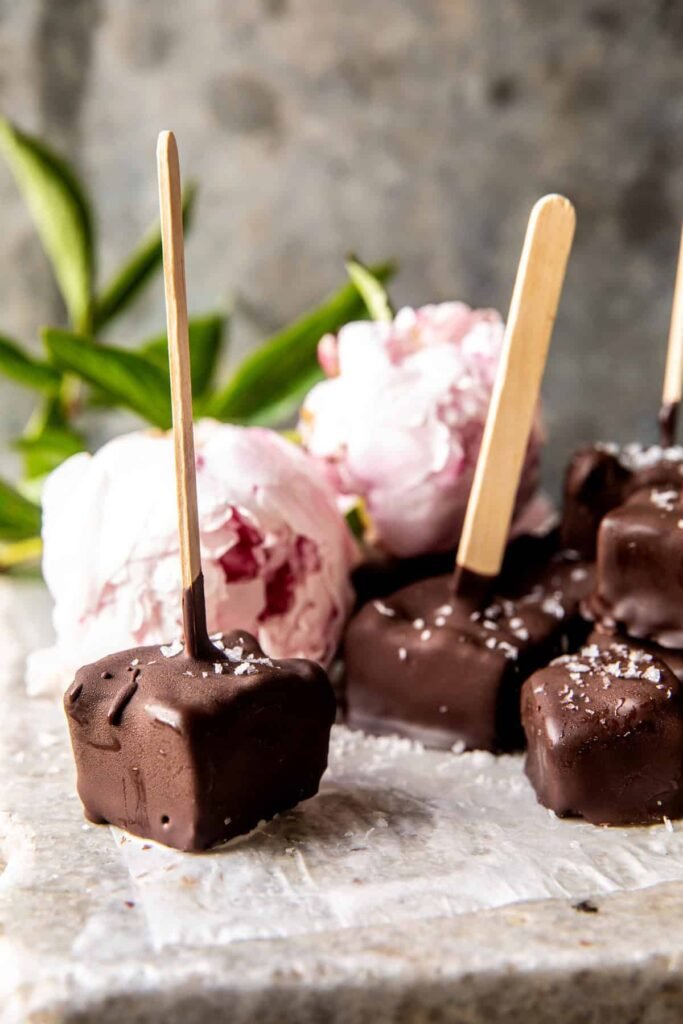
Step 4: The Chocolate Dip (a.k.a. the Grand Finale)
Melt your favorite chocolate (dark, milk, whatever you love). Dip each frozen square, let the excess drip off, and place them back on the parchment. If you’re feeling fancy, sprinkle with a pinch of flaky sea salt—it balances the sweetness perfectly.
Freeze one last time to set the chocolate, then transfer to an airtight container. They’ll keep for weeks… if they last that long.
The best part? You can grab one straight from the freezer—no thawing needed. They’re creamy, crunchy, sweet, salty, and so satisfying. Summer just got a whole lot sweeter.